In this simple guide you will learn how to update the firmware for the Canon R6.
Firmware is software installed on your camera, enabling it to function correctly. Canon may periodically release free firmware updates incorporating new features and performance enhancements.
Firmware updates are not required but if you wish your camera to operate at peak performance, they are recommended. Occasionally they might fix serious bugs or add support for new lenses.
Which Firmware Version is Installed?
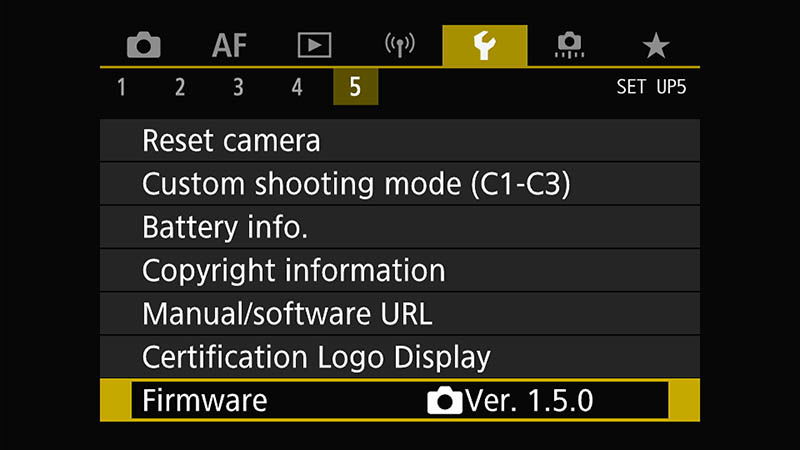
To find out which version of firmware your camera is currently operating with, ensure you are in ‘P’ mode and select the menu then tap the ‘wrench‘ icon and select tab 5.
The current firmware version will be displayed at the end.

Advice: If you want real-time discussion on firmware updates please visit our forum here or join our private Facebook group Canon R6 Shooters.
How to Install the Latest Firmware
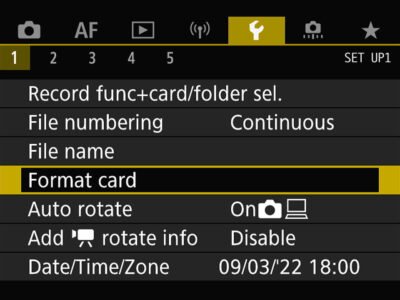
Before proceeding we recommend ensuring that your battery is fully charged, your memory card has been formatted (R6 Format Guide), and you have removed all lenses and accessories from your camera.
Step 1 – Download the Firmware
You can download the latest R6 firmware from Canon’s Support Sites:
You can familiarise yourself with the firmware specifics and the chronological order of previous enhancements by selecting ‘more details’ on the download page.
Once you are happy that you definitely want to update, select the download compatible with your computer operating system [Windows] or [macOS].
Step 2 – Locate and Un-zip the Firmware
Locate the file you have downloaded (it will most likely be in your download folder). If you wish you can move this file to your preferred location.
The file is ZIPPED, so you need to UN-ZIP before we can use it. To un-zip if you are a windows user, right click and select ‘extract all’. If you are a Mac user just double click.
You will now have a new un-zipped folder ready to use. Sometimes on macOS the firmware download will be mounted as a drive, and you’ll see this drive on your desktop or under “Locations” in Finder.
Step 3 – Transfer the Firmware to Camera and Update
Place your cameras formatted SD memory card into your computer or your computers card reader then copy the un-zipped file with the extension .FIR on to your SD card.
Next, remove the SD card from your computer and place back into the camera.
Turn your camera on and set to ‘P’ mode. Press ‘menu’ select the ‘wrench’ icon and then tab 5.
At the bottom of that tab you will see ‘firmware’ and it will be displaying the current version.
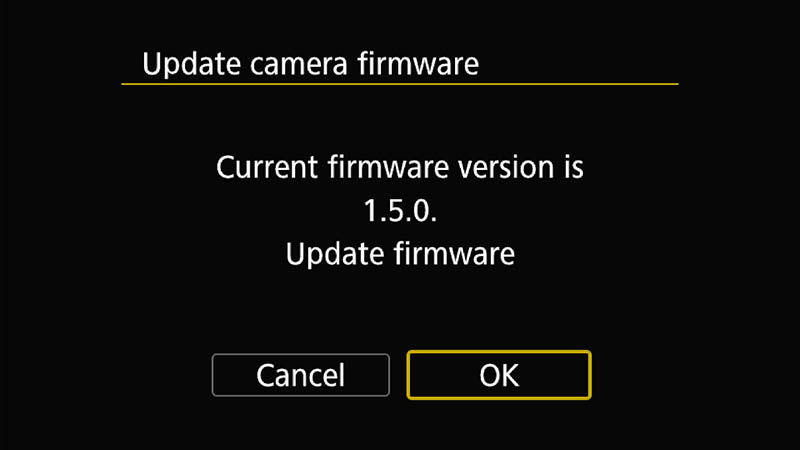
Select ‘firmware’ and follow the cameras instructions, clicking ‘OK’ to update and select the new firmware.

TIP: Once the update has started DO NOT touch any buttons or dials and DO NOT power off until you are certain that the update has completed. This can take several minutes for larger firmware updates.
And that’s it.
If you have any difficulties please drop a comment below and we’ll do our best to help.


Leave a Reply