Pro Member
- Joined
- Apr 10, 2023
- Posts
- 2,058
- Solutions
- 4
- Likes Received
- 3,246
- Points
- 113
Hali posted excellent results by DXO. As I believe Photofarmer once said this is a great site with no bickering about various apps and pretty much every else and I agree. I did not start this thread to invoke this type of thing. DXO is an industry leader, has been at it for a long time and put the time into Optics. I was a PureRAW user until Adobe Denoise AI came out. The main reason for a this stage of things I prefer everything under one roof. PureRAW creates a DNG when the file is sent back to LrC which is fine but I prefer no DNG's. I think for the really tough jobs DXO edges out Adobe.
The only reason I decided to start this is Adobe typically has had bad raps which is fine. I just wanted to show others who aren't familiar that Adobe is no slouch in the Denoise area. I went back to an ISO 20000 file to try out the new no DNG Denoise process that was just released. I did use the older DNG process this file but wanted to mess around with the new approach.
I waited a long time for this new process. After Deniose is applied there is no DNG and you can tweak it as many times as you like. After applying it I often go into masking to mask both the background and subject. Background to completely wipe out any remaining noise (if I want to) and to add a little Texture and Clarity to the subject. I did not do that this time just. I just wanted to show the minimal amount of steps I think was good enough for an OK result.
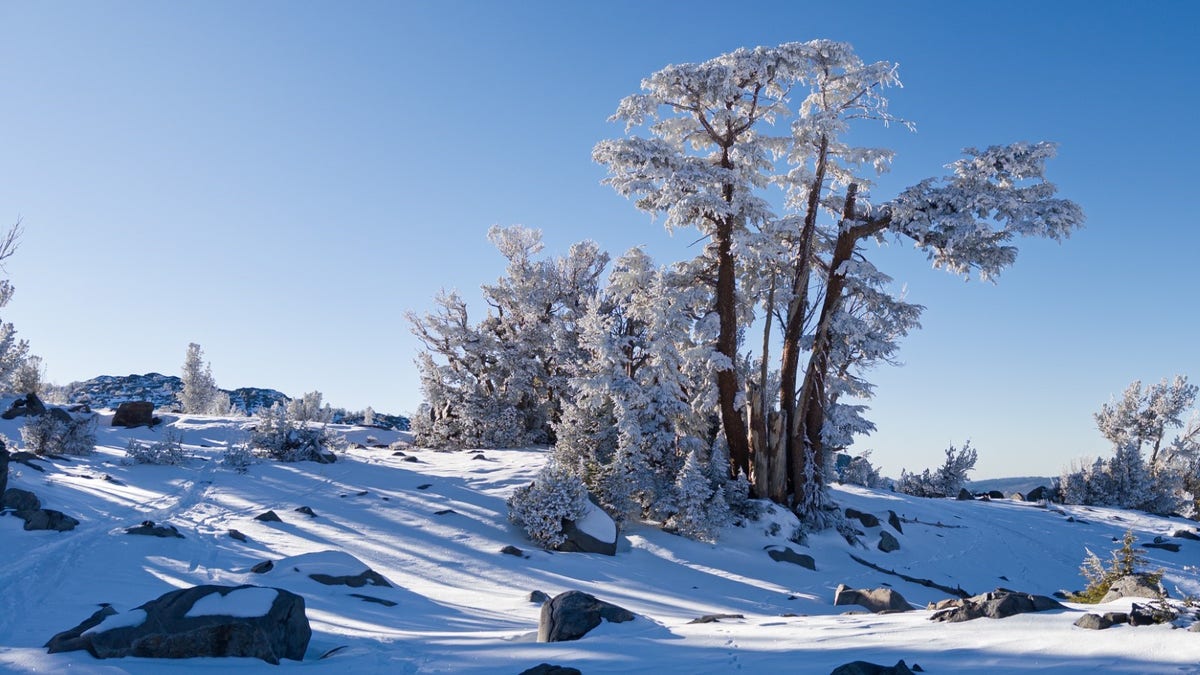
Here is the original. I did get a good exposure which did help.

Cropped

Post Denoise AI. The steps. Note I left Sharpening at default of 40. I usually work with that too.
1. Applied Denoise AI which for LrC (ACR too) is a default of 50.
2. Cropped
3. Added Masking in the Detail panel to about 50. This prevents from flat areas like backgrounds from being sharpened.
4. Applied Adobe's Adaptive Color profile. I had to raise the exposure a bit as I think it was trying to protect the highlights in the bottom left corner. 90% of the time it is very close.
5. As stated I didn't go into masking this time. I wanted to take out a bit more background noise so I bumped the Denoise AI slider from 50 to 70. A little high for me but for the purpose of this it's good enough. It will start to effect subject details so I would normally work on the background/subject balance a little more.
Final which took 10-15 seconds after the Initial Denoise process. Once that has been applied the first time any future Denoise AI tweaks like my bumping it from 50 to 70 is instantaneous.
The only reason I decided to start this is Adobe typically has had bad raps which is fine. I just wanted to show others who aren't familiar that Adobe is no slouch in the Denoise area. I went back to an ISO 20000 file to try out the new no DNG Denoise process that was just released. I did use the older DNG process this file but wanted to mess around with the new approach.
I waited a long time for this new process. After Deniose is applied there is no DNG and you can tweak it as many times as you like. After applying it I often go into masking to mask both the background and subject. Background to completely wipe out any remaining noise (if I want to) and to add a little Texture and Clarity to the subject. I did not do that this time just. I just wanted to show the minimal amount of steps I think was good enough for an OK result.
Here is the original. I did get a good exposure which did help.
- Join to view EXIF data.
Cropped
- Join to view EXIF data.
Post Denoise AI. The steps. Note I left Sharpening at default of 40. I usually work with that too.
1. Applied Denoise AI which for LrC (ACR too) is a default of 50.
2. Cropped
3. Added Masking in the Detail panel to about 50. This prevents from flat areas like backgrounds from being sharpened.
4. Applied Adobe's Adaptive Color profile. I had to raise the exposure a bit as I think it was trying to protect the highlights in the bottom left corner. 90% of the time it is very close.
5. As stated I didn't go into masking this time. I wanted to take out a bit more background noise so I bumped the Denoise AI slider from 50 to 70. A little high for me but for the purpose of this it's good enough. It will start to effect subject details so I would normally work on the background/subject balance a little more.
Final which took 10-15 seconds after the Initial Denoise process. Once that has been applied the first time any future Denoise AI tweaks like my bumping it from 50 to 70 is instantaneous.
- Join to view EXIF data.