Pro Member
- Joined
- Mar 22, 2023
- Posts
- 2,649
- Solutions
- 3
- Likes Received
- 5,021
- Points
- 76
- Name
- Phil Moore
For users of this software who may not have picked these up already, some quick tips and tricks I find useful (including a recent find!).
Please feel free to add yours...")
Phil
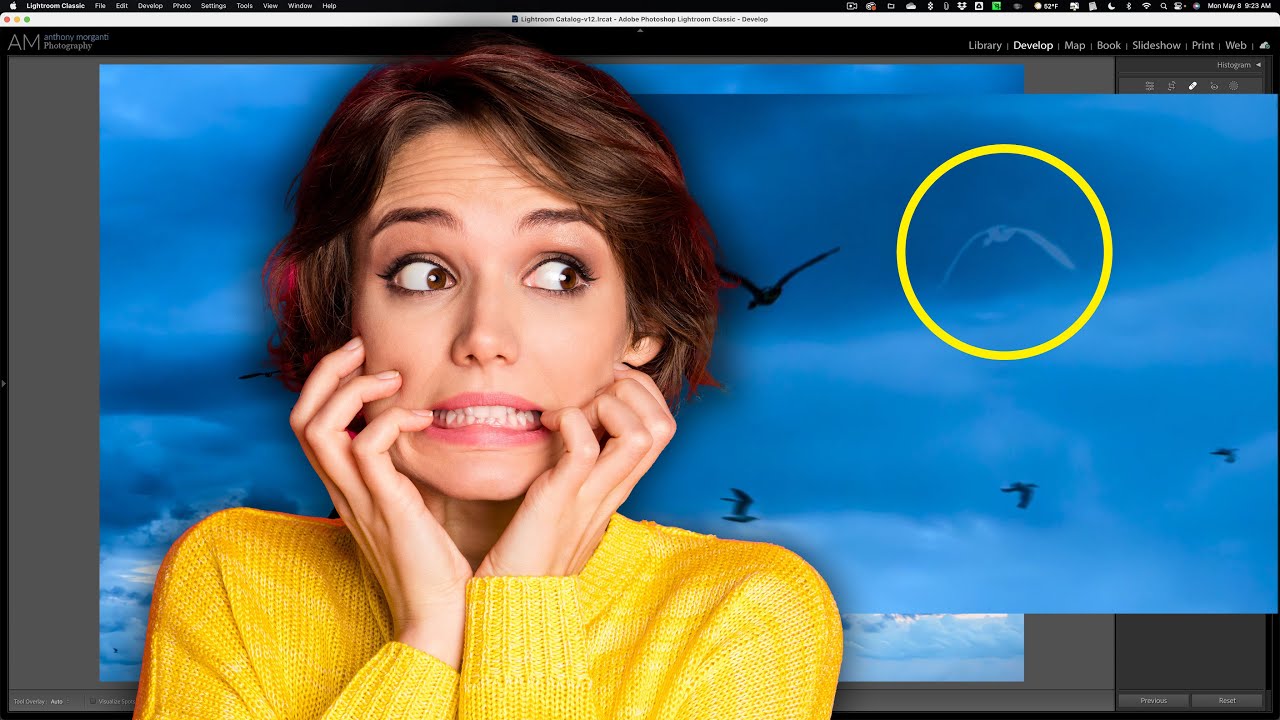
1. Use "Snapshots' to quickly compare different crops/ adjustments/ edits etc... I find this function a really effective way to compare/ demonstrate different options.

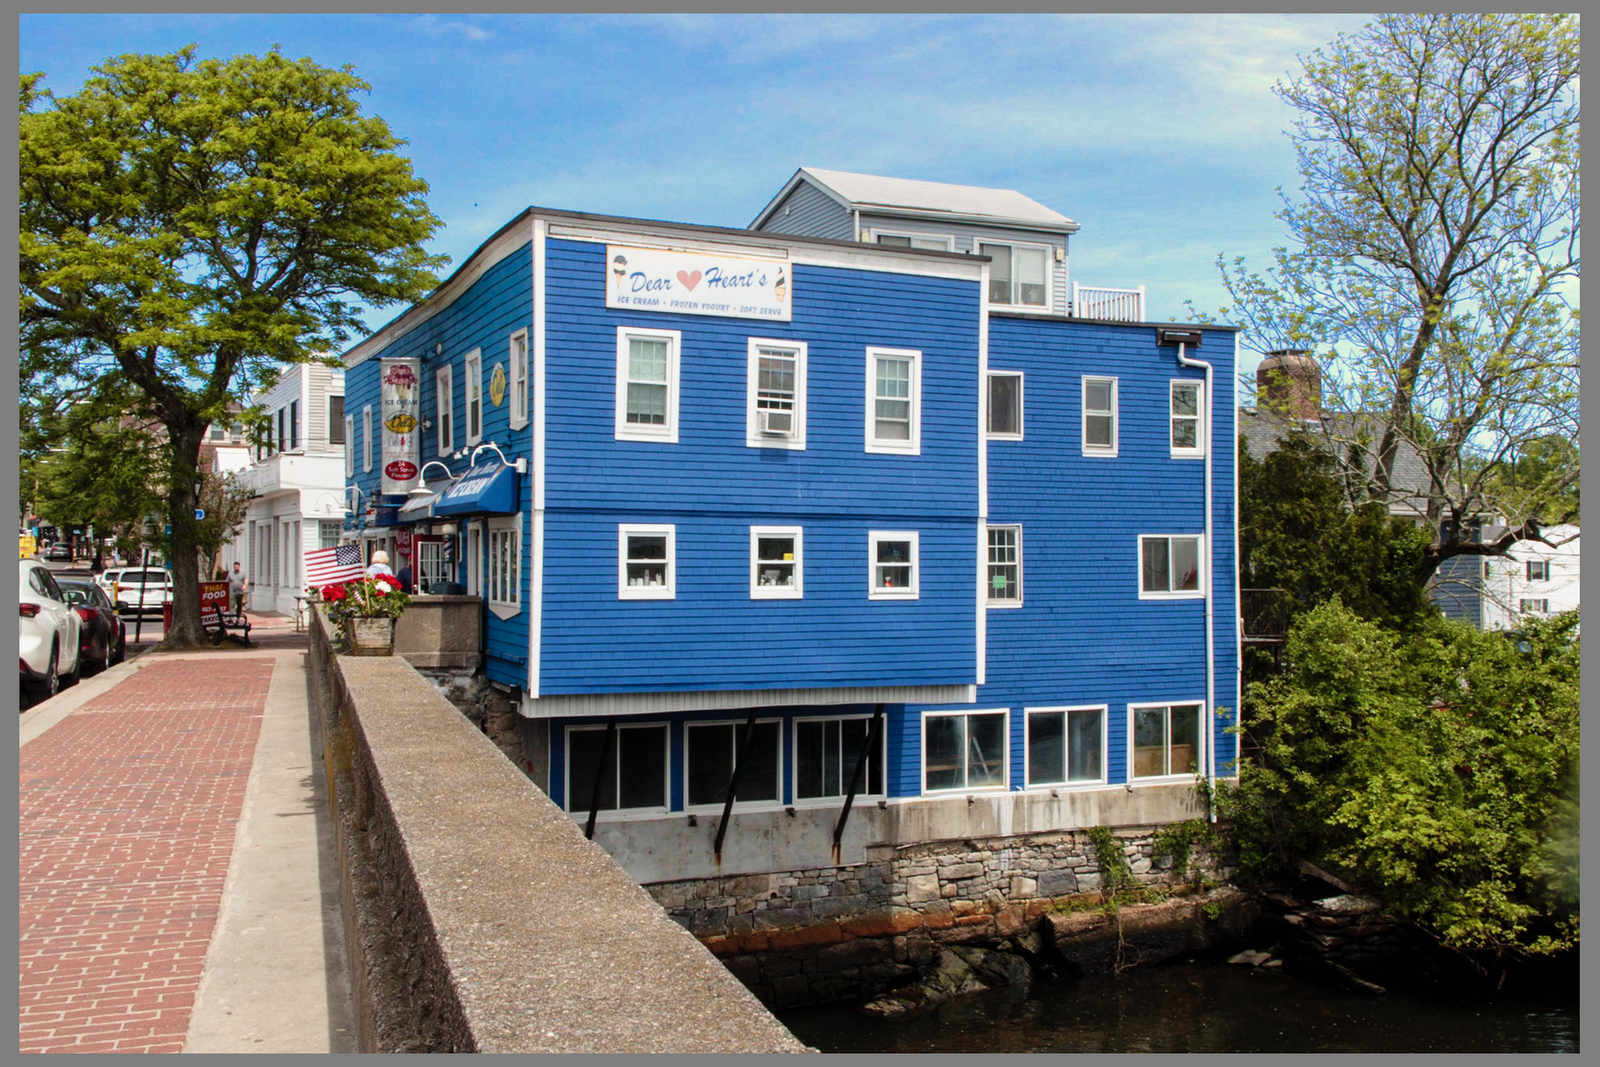
2. Draw a Linear Gradient off an image to apply a mask evenly across it, then make 'global adjustments' and selectively modify them (Add/ Subtract/ Intersect). In the below example I set Saturation to -100 to produce a B&W style image, then 'Subtracted' from the mask using Objects to selectively add colour back. You can get quite creative using different permutations of adjustments/ modifications. (Other global masking options are available, but I find the Linear Gradient is easy).
3. Bonus tip - In the below example I've used this method to apply a Curve adjustment (now available with the latest update) to the entire image and because it's a 'mask' I can also adjust the 'Amount' - something which would not be available using the normal Tone Curve tool in Lr C. I find this gives me fine control over the Curve adjustment without any frustrating fiddling about with points.
Please feel free to add yours...
Phil
1. Use "Snapshots' to quickly compare different crops/ adjustments/ edits etc... I find this function a really effective way to compare/ demonstrate different options.
2. Draw a Linear Gradient off an image to apply a mask evenly across it, then make 'global adjustments' and selectively modify them (Add/ Subtract/ Intersect). In the below example I set Saturation to -100 to produce a B&W style image, then 'Subtracted' from the mask using Objects to selectively add colour back. You can get quite creative using different permutations of adjustments/ modifications. (Other global masking options are available, but I find the Linear Gradient is easy).
3. Bonus tip - In the below example I've used this method to apply a Curve adjustment (now available with the latest update) to the entire image and because it's a 'mask' I can also adjust the 'Amount' - something which would not be available using the normal Tone Curve tool in Lr C. I find this gives me fine control over the Curve adjustment without any frustrating fiddling about with points.
Last edited: